Summer Quinoa, Corn Salad

DSC_0035

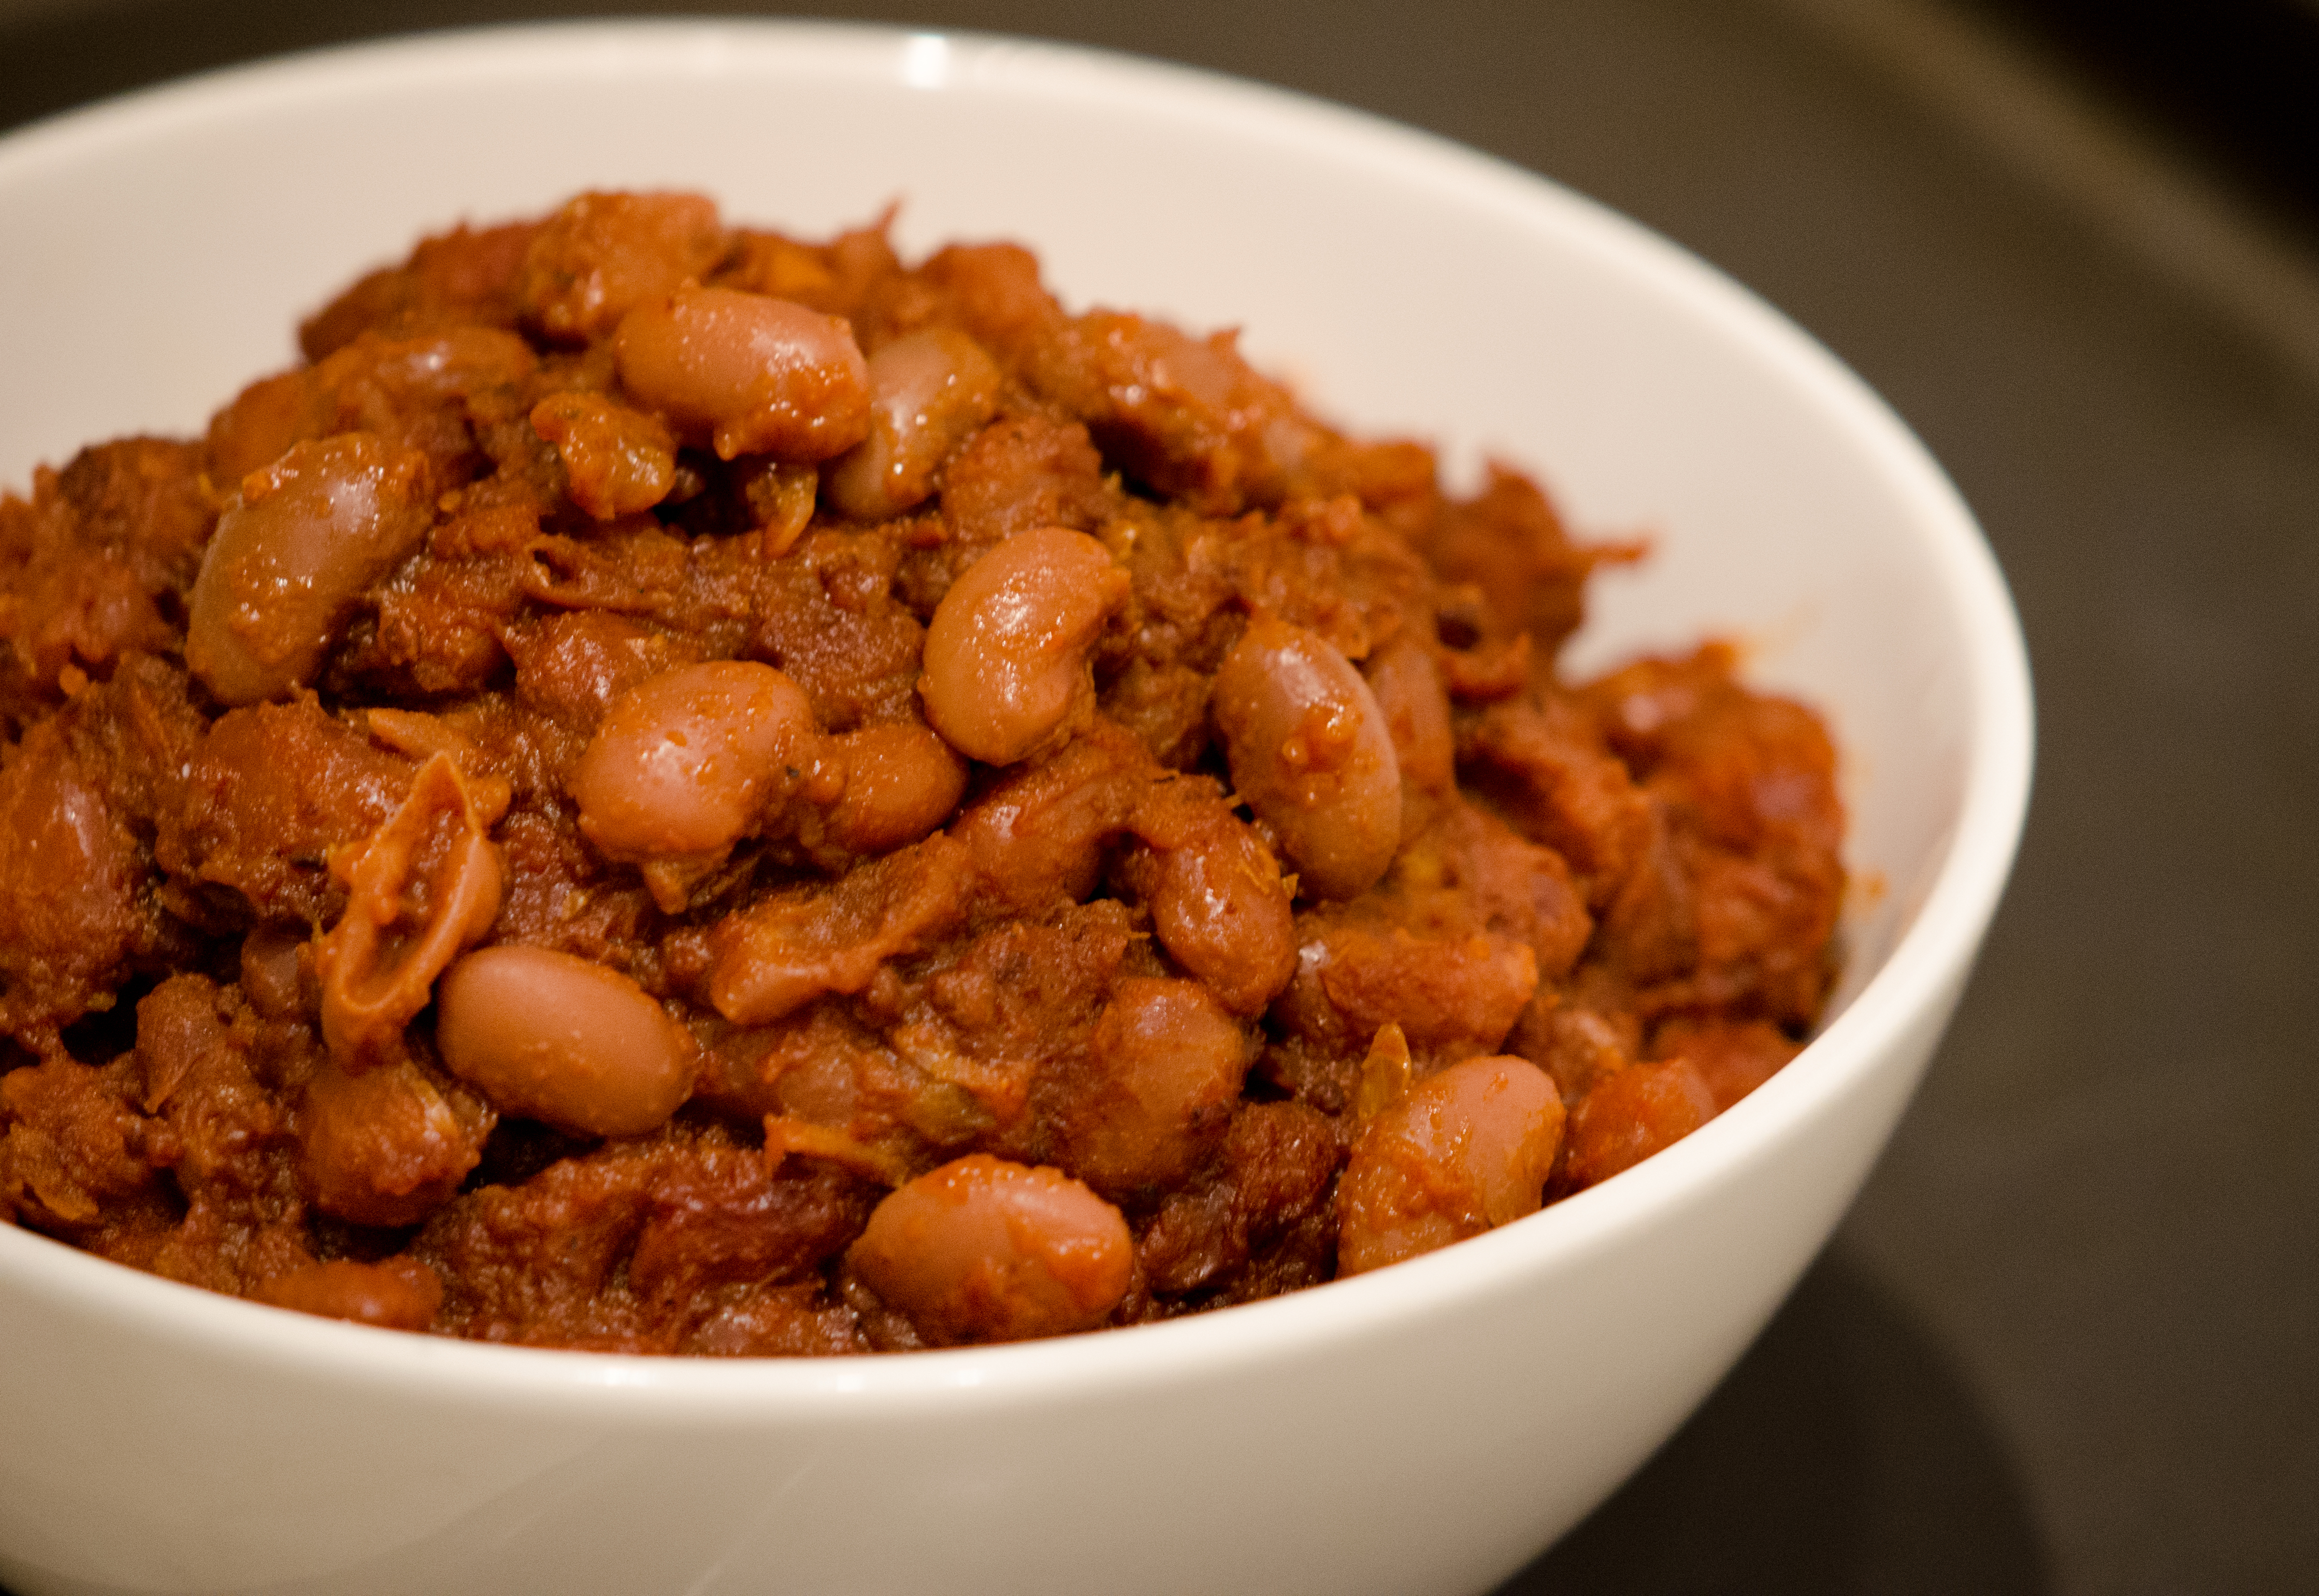
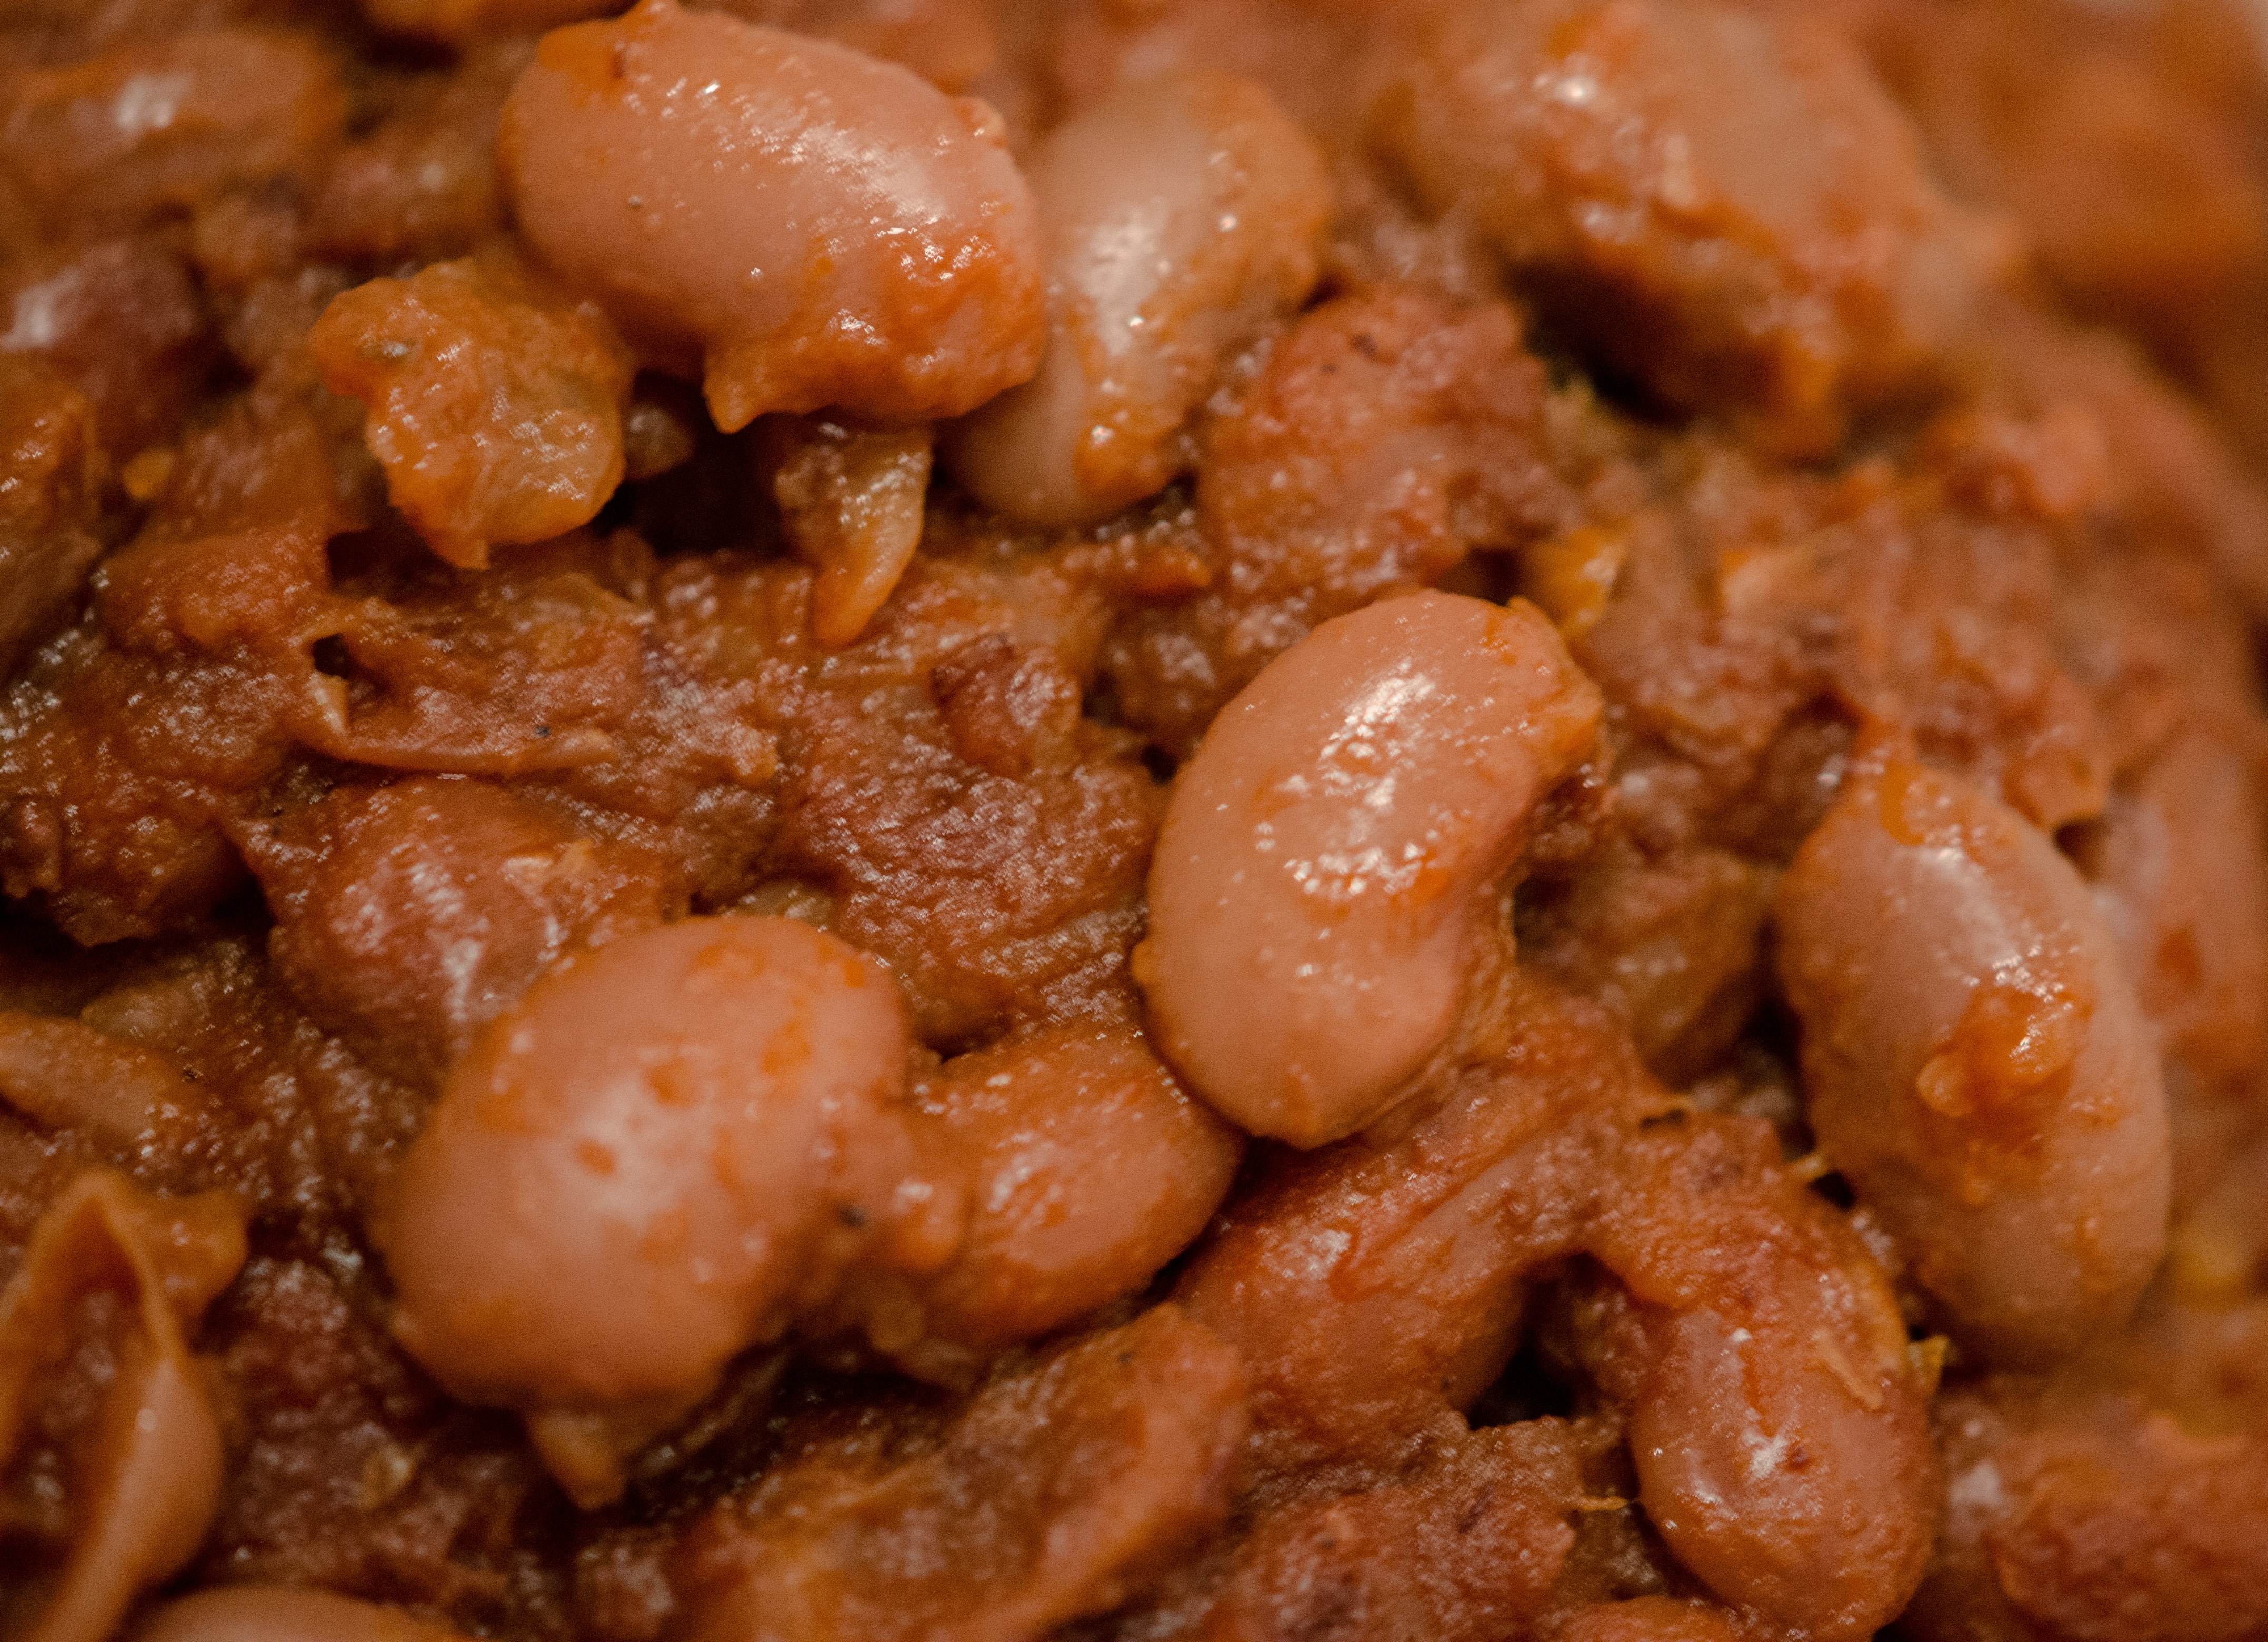
Well it is here, I can finally say it: Hello Summer! I just got back from an incredible vacation in Kelowna, BC where I got to visit my family. It was nine days of much appreciated rest and relaxation. In fact, it was the first time since we got married almost a year ago that Bryce and I had more than one day off to spend together. Over the past eleven months, both of us have been completely booked with school, work and responsibilities. It was almost strange to have so much free time to spend together, but we definitely made the most of it! I wish I could go back again to visit this summer, but it looks like the next few months will be just as busy as the past eleven, so onward we go.

DSC_0030

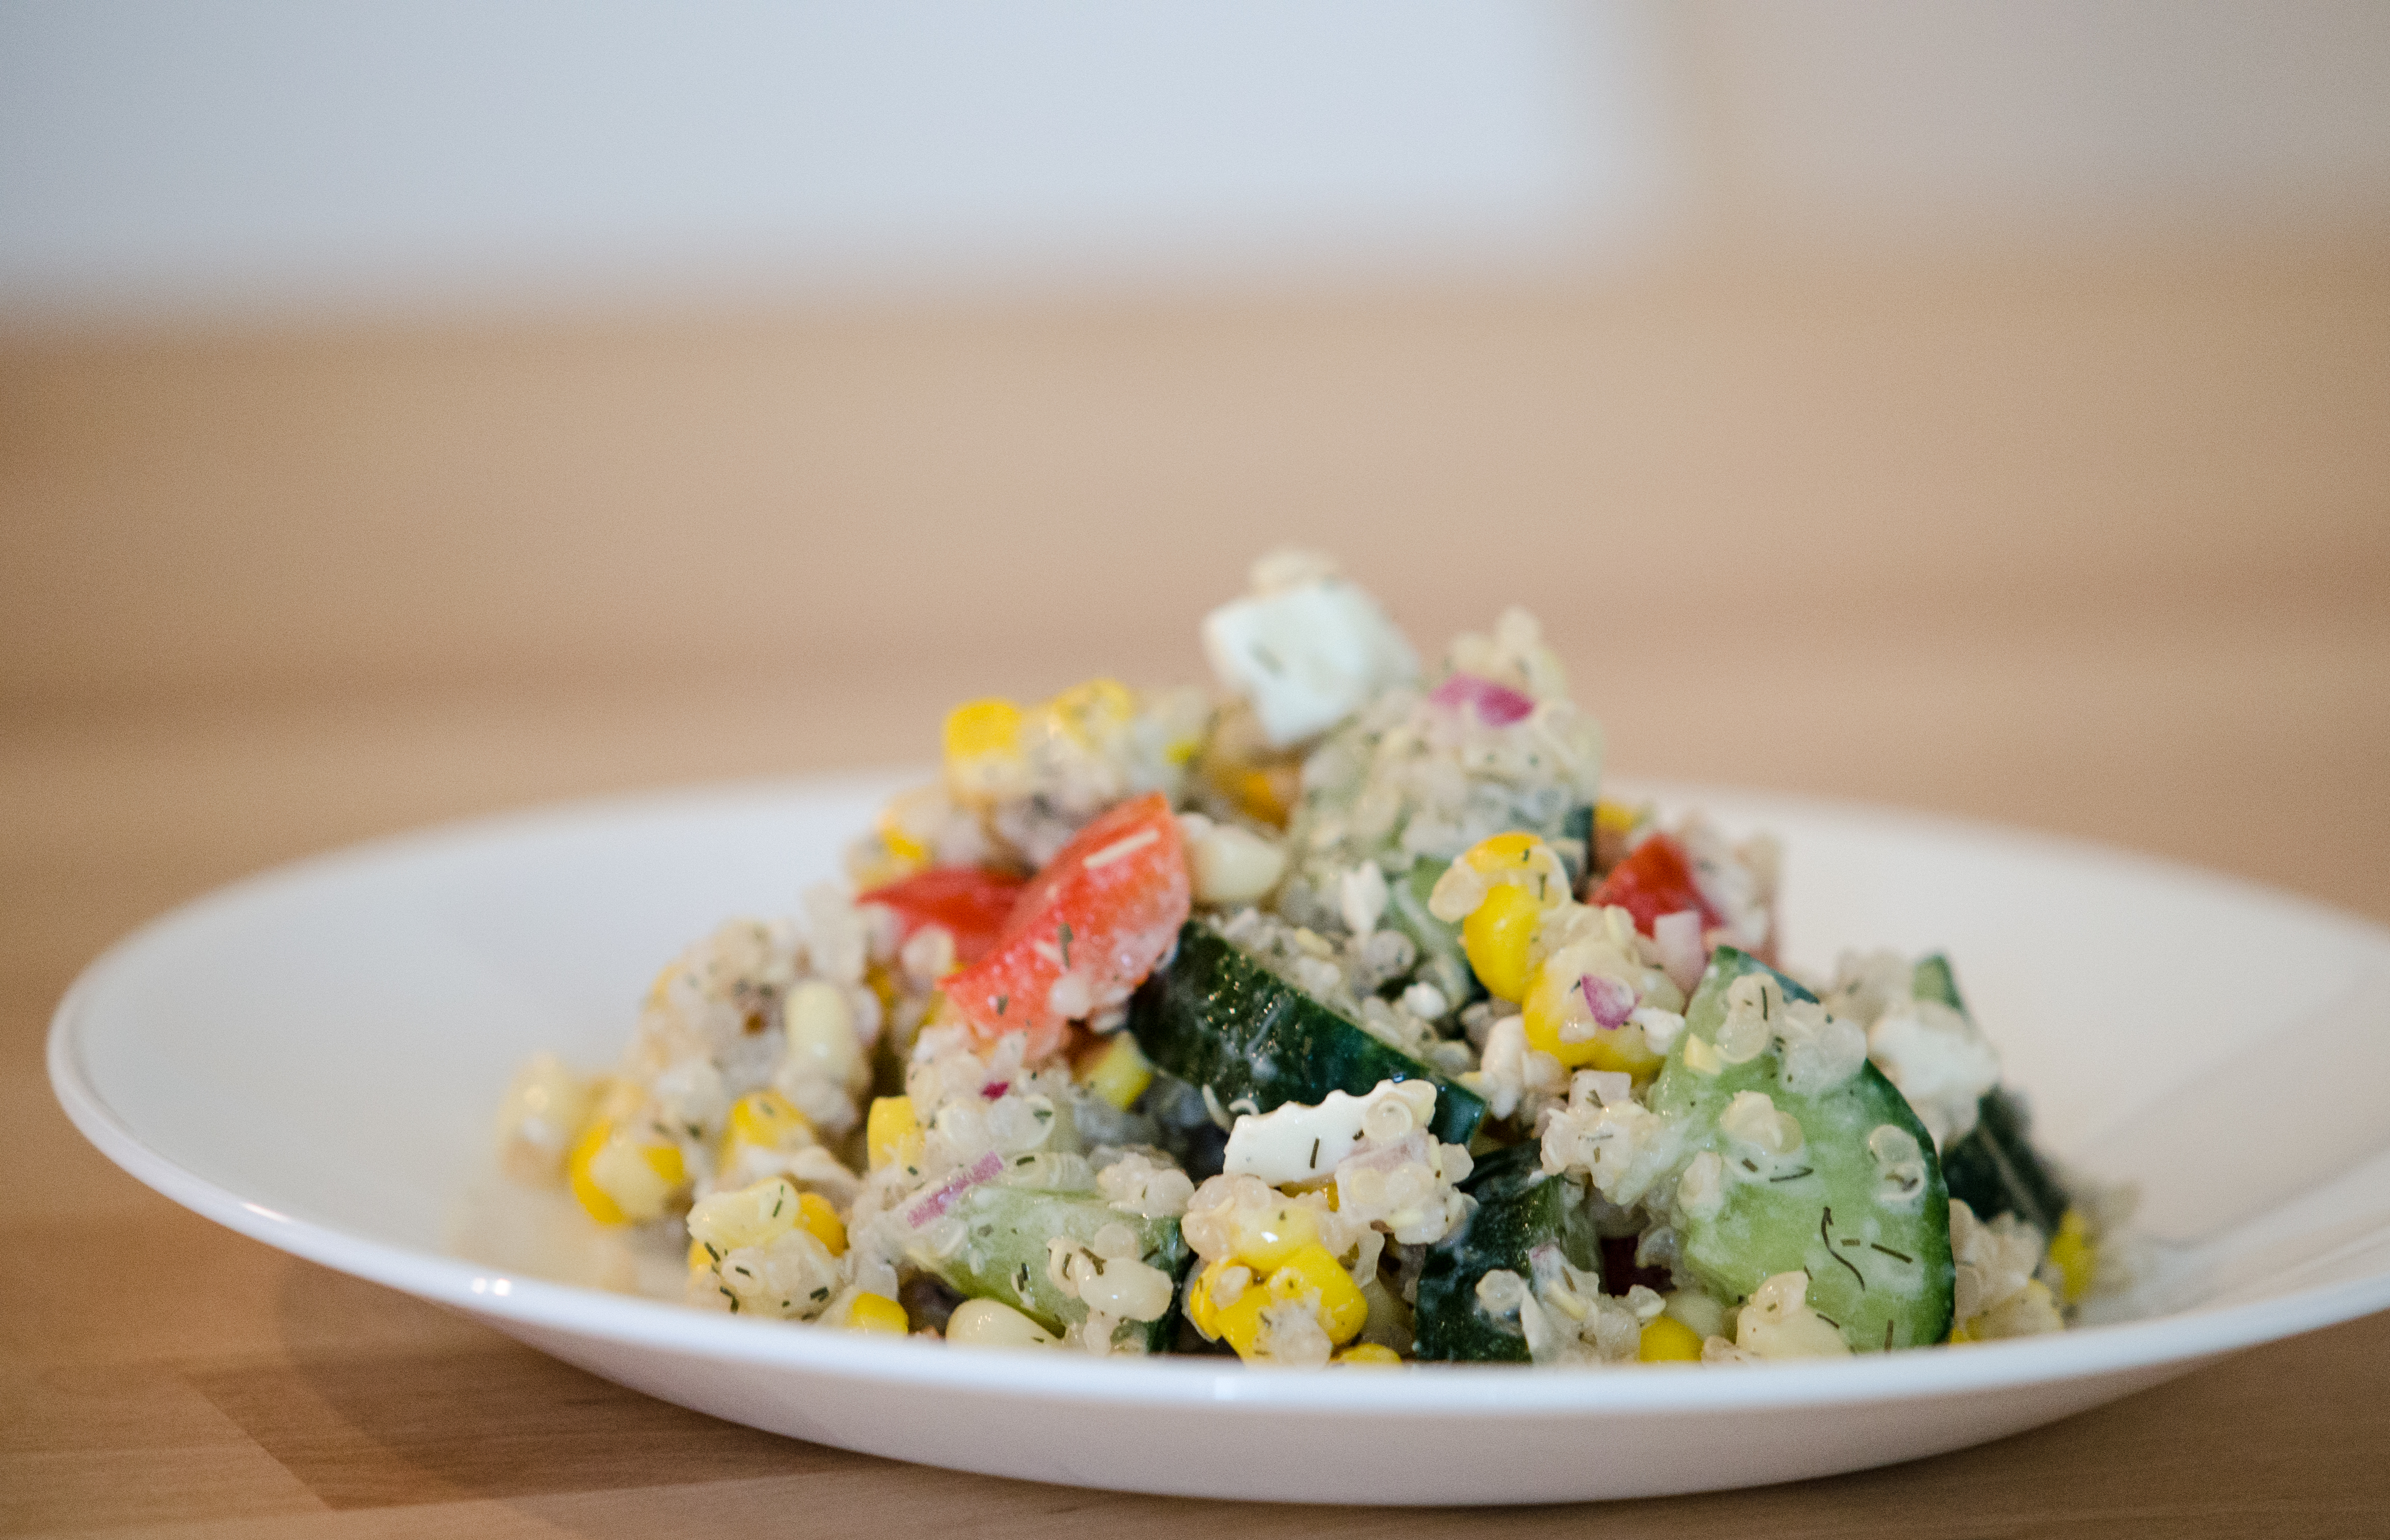
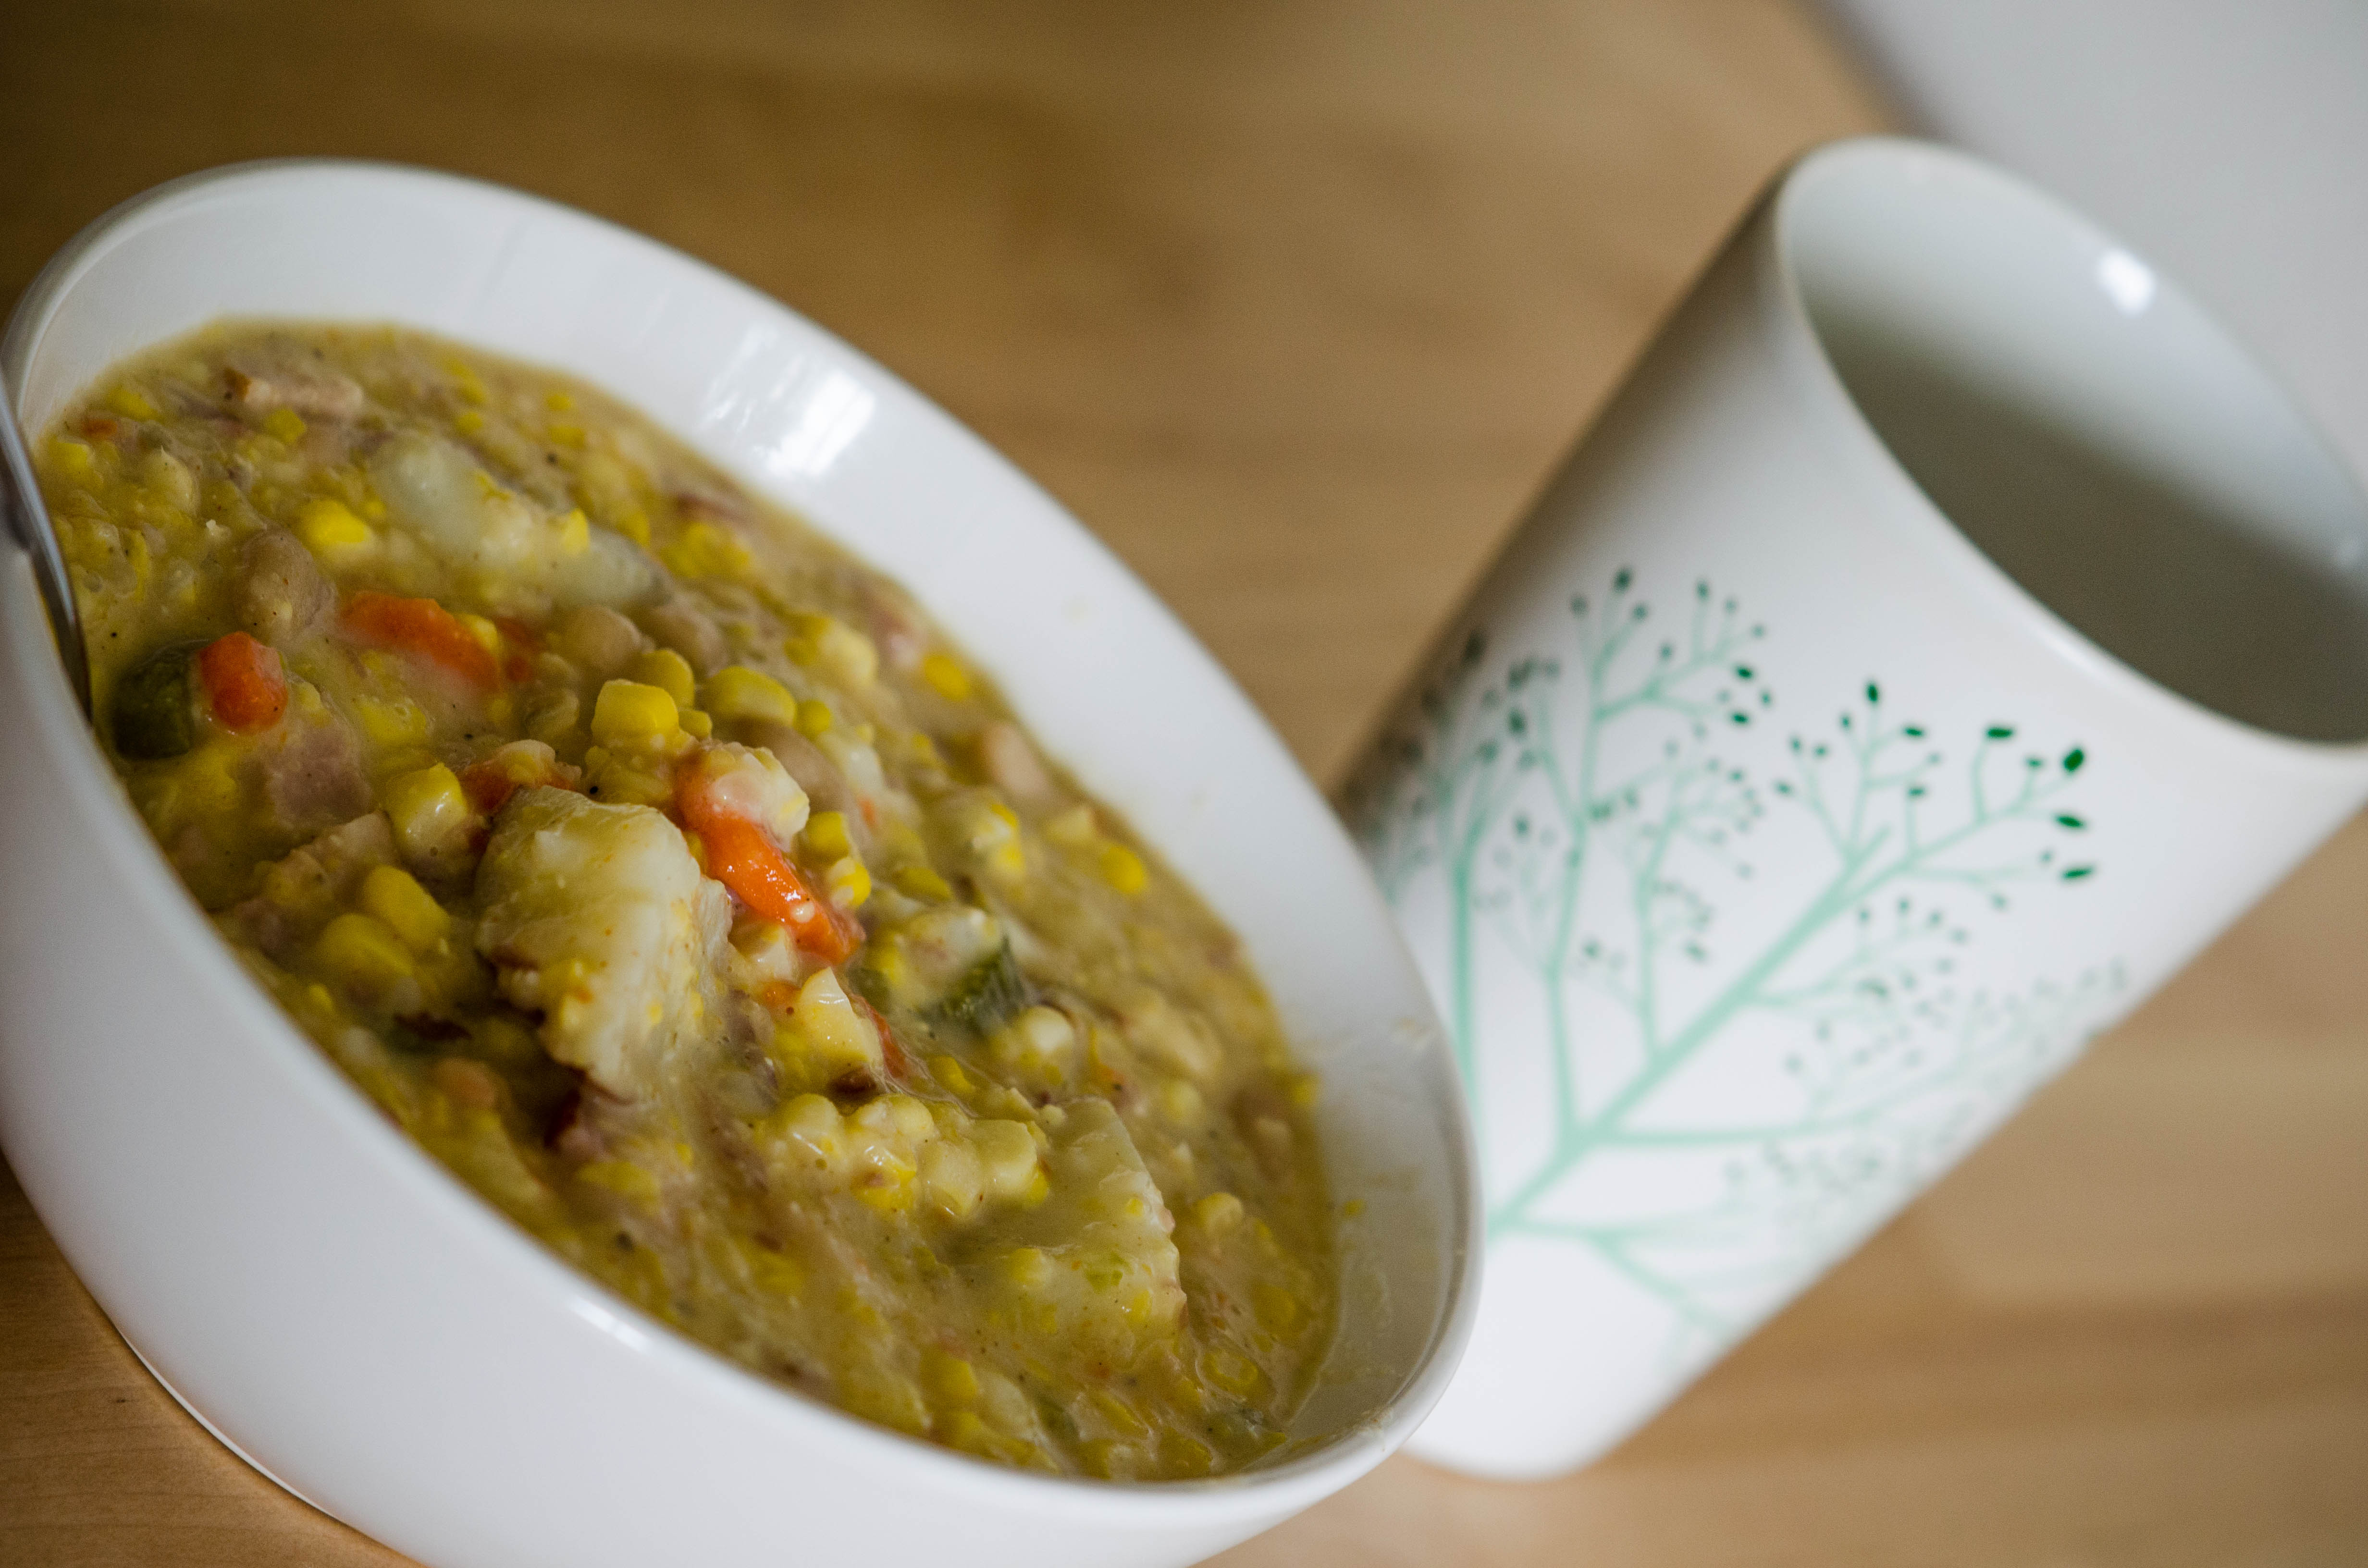
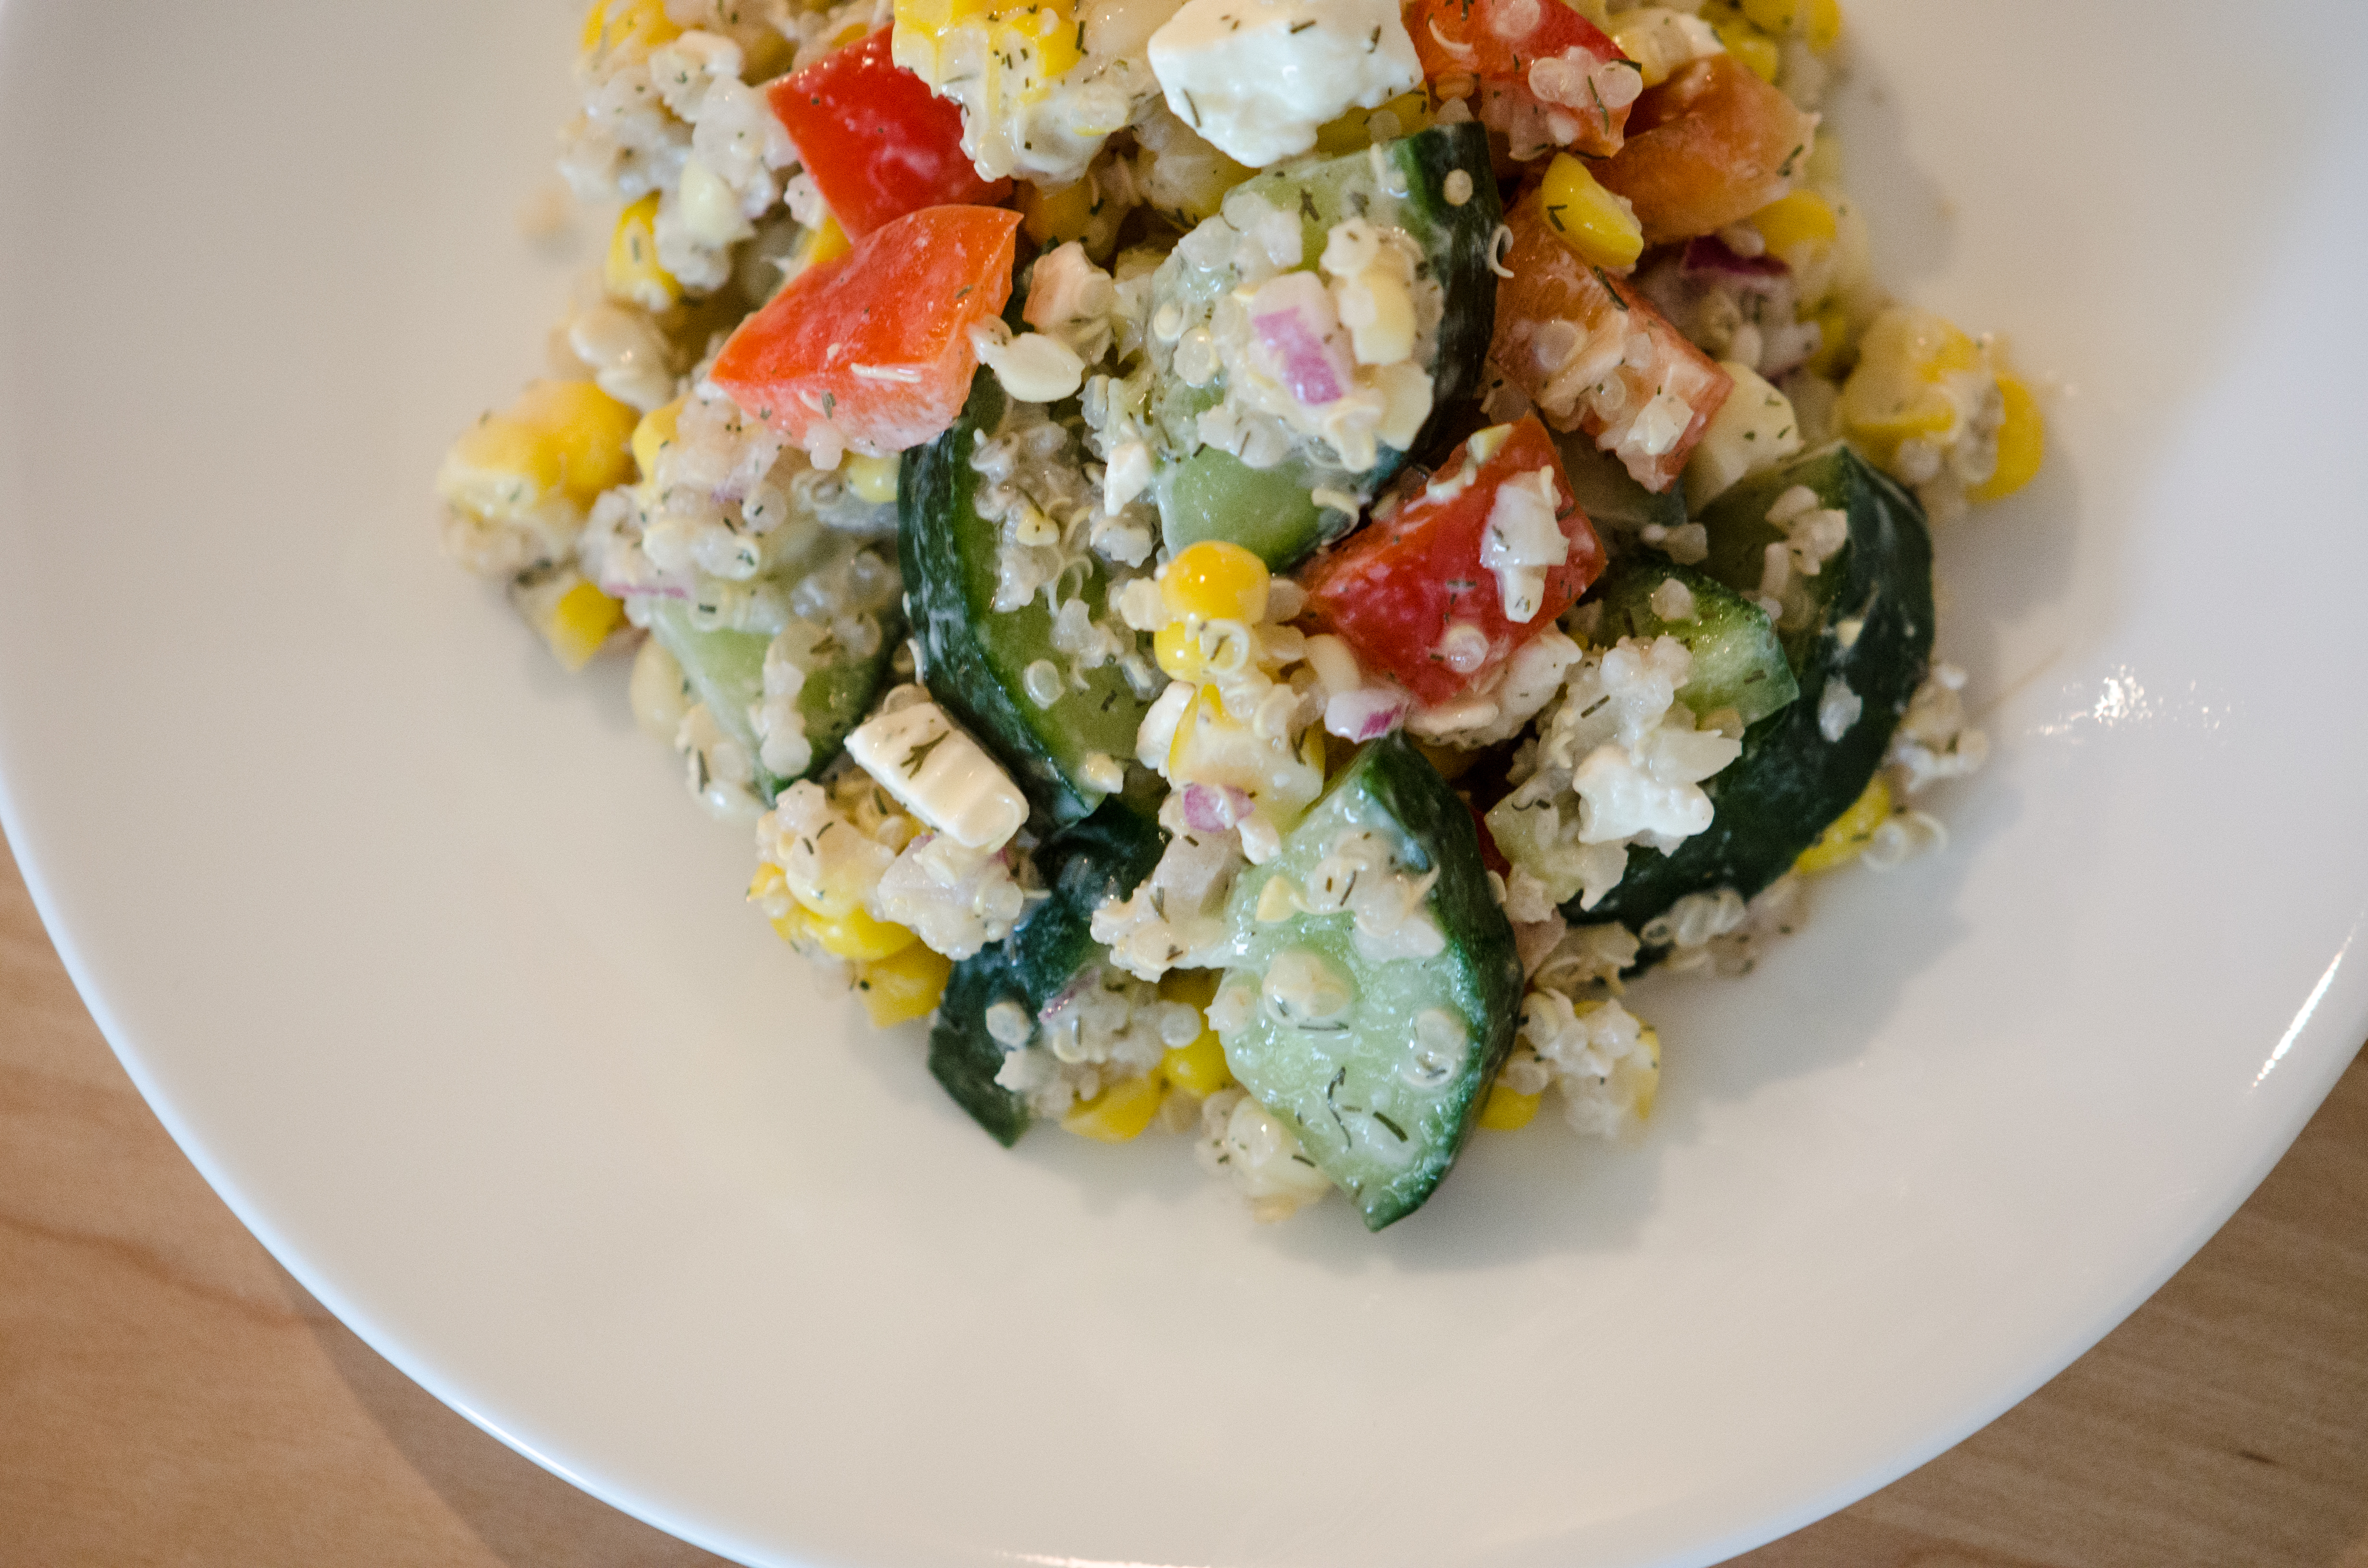
This recipe was created several weeks ago and it got me through the final two weeks of my teaching practicum. I was really getting bored of soups, sandwiches and green salads for my lunch, but this salad mixture was really refreshing! I made a huge bowl of it two weeks in a row and brought it for lunch almost everyday. It’s super easy to make and versatile. You could easily substitute ingredients depending on what you have on hand. The other thing I love about this salad is how colorful it is! I would pull out a container of this for my lunch and it was instant happiness. How can you not smile when you see the bright yellow, green and red mixture? I guess you have to love food as much as I do for that effect. Anyways, I hope you make time this summer to toss together this delicious salad and enjoy it in the sunshine!

DSC_0029

Ingredients:

For the salad:
  • 3 ears of fresh, cooked corn (kernels scraped from the cobs with a sharp knife) about 2 3/4 cup
  • 4 cucumbers, diced
  • 1 red sweet pepper, diced
  • 1/2 a red onion, chopped into small pieces
  • 1 handfull of fresh dill (about 6 sprigs), minced
  • 1 cup of cooked quinoa
  • crumbled Feta cheese, rinsed, as a garnish
For the dressing:
  • ¼ cup buttermilk (I just used regular milk and added a tsp of vinegar to curdle it)
  • 2/3 cups plain European style thin yogurt, stirred
  • 1 tablespoon apple cider vinegar
  • 3 tablespoons onion, minced
  • 1 clove garlic, minced
  • 2 tbsp extra-virgin olive oil

Directions:

  1. In a large bowl break apart the corn kernels lightly and the remaining salad ingredients then toss again to combine.
  2. In a smaller bowl combine the buttermilk, vinegar, onion, yogurt, and garlic and whisk to combine. Add the oil in a slow stream, whisking, until amalgamated.
  3. Garnish with feta and serve!


*adapted from http://food52.com/recipes/12928-dilled-crunchy-sweet-corn-salad-with-buttermilk-dressing

Homestyle Baked Beans

DSC_0016

It has now been several weeks since I started full-time teaching and I am loving every second of it! I now wake-up full of energy and enthusiasm – it feels wonderful to be following a dream that started nearly ten years ago. I love how being in the classroom gives me the opportunity to learn from amazingly curious, young minds each day. They have given me new perspectives and a new lens in which to see my everyday life. It’s amazing how mundane tasks and daily routines can suddenly be put into a whole new light.

Since my last post I also had a birthday, which brings me up to a grand total of 25. I don’t know what it is about that number, but it seems to hold a lot more boldness and respect than the previous 24. I feel I now can’t be shrugged off as a “young” twenty-something, since I am half-way through my twenties. Now I am sure many of you are thinking, “Oh just you wait, you younging…” but I’m sticking with this for now.

Twenty-five. A quarter of a century. A square number with the root of five (my favorite number). The smallest square that is also the sum of two squares 32 + 42. In baseball, the number is typically  reserved for the best slugger on the team. The minimum age of candidates for election to the United States House of Representatives. The number of points needed to win a set in volleyball. The total number of playable characters in Mario Cart Wii and Super Smash Brothers Melee (two of my favorite games). Yup, twenty-five sounds like it’ll be a sensational year.

DSC_0017

Now what does that all have to do with baked beans? Well, really nothing. However, out of internship teaching and birthday celebrating this recipe was invented. Due to our dwindling budget, we’ve been trying to cook more budget friendly meals and focus on healthy, inexpensive alternatives. That’s where these beans come in. Beans are cheaper than a hot dog at Costco (well maybe not quite) but they are much better for you! It’s important to soak them for 8-24 hours prior to cooking them. The longer the better. Soaking them helps make them more digestible by neutralizing the phytic acid and enzyme inhibitors, while breaking down hard to digest complex sugars.

Once they have soaked, it’s only a matter of throwing the ingredients into a pot and giving it lots of time to cook, allowing the flavors to blend together. I highly suggest making this on the weekend, when you have time to hang out around the house as the rich aroma of baked beans spreads throughout the house. Otherwise, this recipe could be easily adapted for a crockpot, if you don’t have the opportunity to just hang out waiting for beans to cook! However, baking the beans in the oven does give the batch a more smokey, earthy flavor. Enjoy!

Ingredients:

  • 6 cups of pinto beans, soaked for 8-24 hours
  • 8 slices of bacon
  • 1/2 a onion, chopped
  • 2 cloves of garlic
  • 1/3 head of cabbage
  • 4 tbsp chili powder
  • 2 tsp paprika
  • 4 cups of chicken stock
  • 1 cup water
  • 1 can of tomato sauce
  • 1/3 cup molasses
  • 1/4 cup brown sugar
  • 3 tsp balsamic vinegar
  • 1 tbsp dijon mustard

Directions:

  1. Soak the beans in a large container for 8-24 hours. Make sure to cover the beans with plenty of water.
  2. Chop up the bacon and cook in large dutch oven.
  3. Preheat oven to 350 degrees.
  4. Once the bacon is cooked, add the onion, garlic and cabbage. Saute until fragrant and soft.
  5. Add the beans, chili powder, paprika, chicken stock, tomato sauce, molasses, sugar, vinegar and mustard. Mix well and bring to boil.
  6. Put lid on dutch oven and move pan into the preheated oven. Bake for 5 hours, checking every hour to ensure the the sauce doesn’t dry out. Add additional water if needed.
  7. After 5 hours, turn oven off and prop open the door to let pot slowly cool down. Take a deep breath of the amazing aroma coming out of the oven and eat up!


* adapted from Jamie Deen – Homemade Baked Beans


Tom Kha Gai

DSC_0018

This is a recipe I have had in the back of my head for awhile, but I just never had the motivation to collect all the ingredients and make it happen! However, last weekend I had an extra day off, so I made up my mind that I would go to an asian market in the international district and make the soup. I must say, I regret not doing this sooner because the market was amazing and I had a lot of fun walking up and down the isles. There were so many new foods to experience, it really got the wheels turning in my head of new things to try. I will definitely be back there soon!

I first tried this soup when I went to Thailand and I had it nearly everyday I was there! When I told Bryce what I was making he gave me this weird look, so I told him its basically Thai Chicken Noodle Soup. It has a unique combination of sweet, salty and spicy, which makes it very satisfying and comforting. Also, you can add any vegetables you want to it to make it more filling! The key to ensuring that all the flavors are incorporated is to mash/bruise the spices prior to adding them to the broth to simmer. I used my Pampered Chef infuser to put it all the spices into as I simmered the broth. This made it really easy for me to remove everything afterwards and to have only the flavorful broth remain. However, the lemon grass, galangal root and Thai chili peppers are key ingredients to the unique flavor of the soup. I do not suggest substituting them for anything else or you’ll lose out on the flavor! This soup perfect for a rainy day meal or if you’re feeling a bit under the weather, the galangal root and lemon grass will help soothe anything 🙂

DSC_0022

Ingredients:

  • 6 cups of chicken stock
  • 1 can of full fat coconut milk
  • 6-8 kaffir lime leaves
  • 1 stalk of lemon grass
  • 3 inches of galangal root
  • 4-6 bird’s eye chili peppers or Thai chili peppers
  • 1 bunch of cilantro
  • 3 tbsp of lemon/lime juice
  • 1/4 cup of fish sauce
  • 1 tbsp coconut palm sugar
  • 2 cups of mushrooms (any kind works, except shitake)
  • 2 whole chicken breasts
  • 1 package of thin rice noodles
  • Thai chili sauce for flavoring when served

Directions:

  1. Remove the stems on the kaffir lime leaves, then bruise the leaves with the end of a knife. Next, cut off the bottom white section of the lemon grass and soften by using the end of a knife. Peel the galangal root and chop into round slices. Chop up a handful of cilantro and add everything except the galangal into a silicon herb infuser. I have this one and I love it!
  2. Throw the infuser and galangal into a large pot with the chicken broth and coconut milk. Simmer for 15 minutes until you can taste the flavors from the infuser.
  3. Take the bird’s eye chillies and bruise them with the end of the knife and add to pot.
  4. Chop up the chicken and mushrooms into bite sized pieces and add to the pot.
  5. Remove from hear and add the fish sauce, coconut palm sugar, lemon juice. Taste the broth to ensure it has a good balance of salty, sweet and sour. Adjust flavor with fish sauce, sugar and lemon juice.
  6. Cook rice noodles according to directions on package and set aside.
  7. Serve the soup over noodles and garnish with cilantro and Thai chili sauce for added spice!

Garlic Prawn and Spicy Salami Pasta

DSC_0002

I don’t know about you, but some days I get a strong craving for a hearty dish of pasta. I usually try to ignore the craving, since there is not much nutritional value in pasta; however, several weeks ago I discovered Trader Joe’s Gluten Free quinoa and rice noodles which changed the game! Often after eating pasta, I would get the “gluten slump” where I would feel bloated, lazy and just plain regretful for eating pasta! However, these gluten free noodles have no after effect and the best part is you would NEVER know they are gluten free. They don’t get soggy or remain hard like whole wheat pasta. We’ve had them several times now, and each time Bryce and I both comment on how delicious they are and that you’d never know they were gluten free.

This recipe kind of came together by chance. One day while shopping at Costco I felt the strong urge to buy a large package of salami. At the time I was thinking, “I could have this on crackers and sandwiches for lunch!”, however, after several days I was tired of that. Every time I opened the fridge I had this package of salami staring at me and I had no idea what I could use it for! I beginning searching for recipes with salami in it and all I could find were pasta or sandwich dishes. So I decided I would create my own pasta dish to use up this darn salami.

I love garlic, butter and prawns and I figured this would go well with the salami and noodles. I don’t like creamy sauces, so I wanted to keep it simple and just do a garlic butter sauce. Then I wanted to add some kick to the dish and I thought about throwing in some red pepper flakes, but decided to go with chopped peperoncini instead. These pickled peppers add just a subtle kick to the dish, but you could add flakes to heat it up more! Lastly, I wanted to add some color, so I threw in some chopped spinach to get some veggies in the mix and brighten it up.

It was one of those meals that when Bryce and I sat down to eat, I “warned” him. I told him that I totally threw this together haphazardly and I had no idea if it would taste good or not. He gave me that look that says, “This better be good because I’m hungry!” and we started eating. After one bite we both looked at each other and couldn’t believe how good it was! We both polished off our plates and since then Bryce has requested it on the menu nearly every week. Let’s just say I’m buying salami more often now, just to make this!

DSC_0004

Ingredients:

  • 1 package of Trader Joe’s Gluten Free Quinoa Rice Noodles
  • 3 cloves of garlic, finely chopped
  • 3 tbsp of butter
  • 10-12 large prawns, tails removed
  • 1 cup of salami, sliced into half inch slices
  • 4 peperoncinis, chopped
  • 2 cups of spinach, chopped

Directions:

  1. Cook pasta according to directions.
  2. Melt butter in a large saucepan and add the chopped garlic. Saute until soft and fragrant about 5 minutes.
  3. Add the sliced salami and peperoncinis and saute until salami is a bit brown and crispy, about 7 minutes.
  4. Add the prawns and cook until they’re pink, about 7 minutes.
  5. Add the chopped spinach and cook for 5 minutes until its soft. Then add pasta to pan and mix until butter coats noodles. Serve it up!

White Bean, Bacon and Corn Chowder

DSC_0008

I have a confession to make: I am addicted to soups. I spend my days browsing various blogs in search of recipe ideas, I spend my evenings cooking and eating the recipes and I spend my nights dreaming about them! That may be an exaggeration, but we do have a wide assortment of frozen soups in our freezer right now. Currently we have spicy chicken noodle, tomato, beef stew, curry lentil, and now this corn chowder, all which I made in the last two weeks! I need to find a new obsession, I think I’m going to get back into knitting to help distract me.

Anyways, this recipe is my first attempt at corn chowder ever. I must say it was super easy and it is now one of my favorite bowls of comfort. It smells heavenly and with the sweet, fresh corn I got from the farmers market, there is nothing better! I added some extra veggies and the white beans to make it a bit heartier, since there is little nutritional value in just the corn. Many recipes had red peppers in them, but since I have a strong dislike for peppers, I didn’t add them. You can definitely play around with the recipe and add whatever you have on hand. I think I might try adding cauliflower to it next time to add some more veggies. I hope you enjoy it, whatever modifications you make!

DSC_0004

Ingredients:

  • 1 medium yellow onion
  • 3 cloves of garlic
  • 2 stalks of celery
  • 3 carrots, sliced
  • 8 pieces of thick bacon
  • 2 tbs butter
  • 6 ears of corn
  • 6 red potatoes
  • 3 cups chicken stock (or vegetable)
  • 1 tbl salt
  • 1 tbl black pepper
  • 1 tbl paprika
  • 2 tsp thyme
  • 1 cup half and half
  • 1/4 cup of corn meal
  • 1 can of white beans

Directions:

1) In a large pot, boil the ears of corn for 8 minutes and then cut the corn off the cobs and set aside.
2) In a large soup pot, melt the butter and then add the diced onions and garlic. Saute for several minutes until they begin to soften, then add the chopped celery, carrots and bacon.
3) Saute for another 6-8 minutes, then add the potatoes, corn, stock, salt, pepper, paprika and thyme.
4) Cook for 15 minutes until the potatoes become fork tender, stirring occasionally.
5) Transfer 3 cups of the soup into a blender and add the corn meal and half and half. Blend the mixture until smooth. If you desire a chunkier chowder, blend less, if you want a smoother chowder, blend more. Return blended mixture to pot.
6) Add the can of white beans and cook for another 10 minutes and serve. Hint: the longer the chowder sits, the more the flavors blend into a delicious bowl!

Asian Lettuce Wrap Salad

DSC_0002The last few weeks in Squamish have been incredible! It actually feels like Spring is here, which isn’t always the case in the Pacific Northwest. We’ve had beautiful sunny weather; I’ve been able to start running and biking again in the mornings and the best part is my cravings for fun, colorful salads have definitely gone up exponentially. No more comfort stews and soups! This is one of those salads where you have a major AHA! moment. I love lettuce wraps. I had my first experience with them a year ago at the Cheesecake Factory. My Mom and I ordered it as an appetizer and devoured it completely! As soon as we finished it we looked at each other and we were both thinking the same thing: why have we not made these ourselves before! After that meal, a few times a month I make lettuce wraps. My boyfriend loves them, even though he has to eat 10 to get full and he continually requests them for dinner. One night I had every intention of making lettuce wraps, when I realized my lettuce had gone bad and I had nothing to wrap them in. At this moment I thought, why not through it all together as a wonderful salad! And at that moment magic was born. I added the arugula and spinach as substitutes for lettuce and otherwise everything was the same. It was quick and easy and even better I had easy leftovers for several healthy lunches. It was a win-win! I hope you enjoy this salad as much as I did. I’m looking forward to more salads with the warmer spring weather!

Ingredients:

  • Arugula
  • Spinach
  • Brown Rice Noodles
  • Carrots, sliced into slivers
  • Avocado
  • Cilantro
  • Almonds, chopped
  • Spicy Peanut Sauce
  • Chicken, shredded

Directions:

  1. Bring a large pot of water to boil and add the chicken to the water and boil for 25 minutes, until chicken is cooked through.
  2. Bring another pot to boil and cook rice noodles. They only take 5 min, so watch them closely!
  3. While chicken and noodles are cooking, chop and prepare other ingredients and put into bowls
  4. Once chicken is cooked, take two forks and shred the chicken into bite sized pieces for the salad.
  5. Now just assemble individual salads by adding various ingredients together. Voila!

Revamped Chicken Noodle Soup

DSC_0108

This is another one of those soups that fills your house with good smells for the rest of the day! When I made this soup, the beautiful smells wafted all through my tiny two bedroom suite and apparently they never left! I woke up the next morning and I could still smell this soup! I was pleasantly surprised to say the least. I like how simple this soup is, yet it has a great balance between the spice of the jalapeno, the acidity of the tomatoes and the creaminess of the milk. I found this originally on pioneer women’s website (I idolize that woman!) but I sometimes find she is a bit heavy handed when it comes to oils and fats… so this is my skinnified version of her recipe. I hope these lovely smells begin wafting in your kitchen soon!

DSC_0102

Ingredients

  • 1 cup Vermicelli tagliati noodles (the type in Lypton Noodle Soup)
  • 1 Tablespoon olive oil
  • 2 chicken breasts
  • 8 cups low sodium chicken broth
  • 1/2 medium onion, diced
  • 2 cloves of garlic
  • 3 carrots, diced
  • 2 stalks celery, diced
  • 2 whole fresh jalapenos, diced
  • 1 can (28-ounce) can whole tomatoes
  • 1/2 cup milk
  • 4 tablespoons oregano
  • 2 tablespoons basil
  • Parmesan cheese shavings, for serving

Directions

  1. Cook pasta in a pot according to package directions, I prefer to under cook it, so they don’t get soggy when reheated. Drain and rinse in cold water to cool.
  2. Place chicken in a large pot or dutch oven and cover in chicken stock. Bring to a boil, then simmer chicken, covered, for 30 minutes. Turn off heat and leave covered for 30 minutes. Remove chicken from pot and shred meat.
  3. Dice canned tomatoes and return them to their juice. Set aside.
  4. Either pour off chicken broth into a separate container or use a new pot to saute onion, garlic, carrots, celery, oregano, basil and jalapenos in 1 tablespoon olive oil over medium heat until tender and golden brown, about 10 minutes. Add chicken broth, shredded chicken, tomatoes with their juice. Bring to a boil, then reduce to a simmer. Add cooked pasta, and milk. Stir to combine. Turn off heat.
  5. Serve with Parmesan sprinkled on the top 🙂